Overlapping surfaces
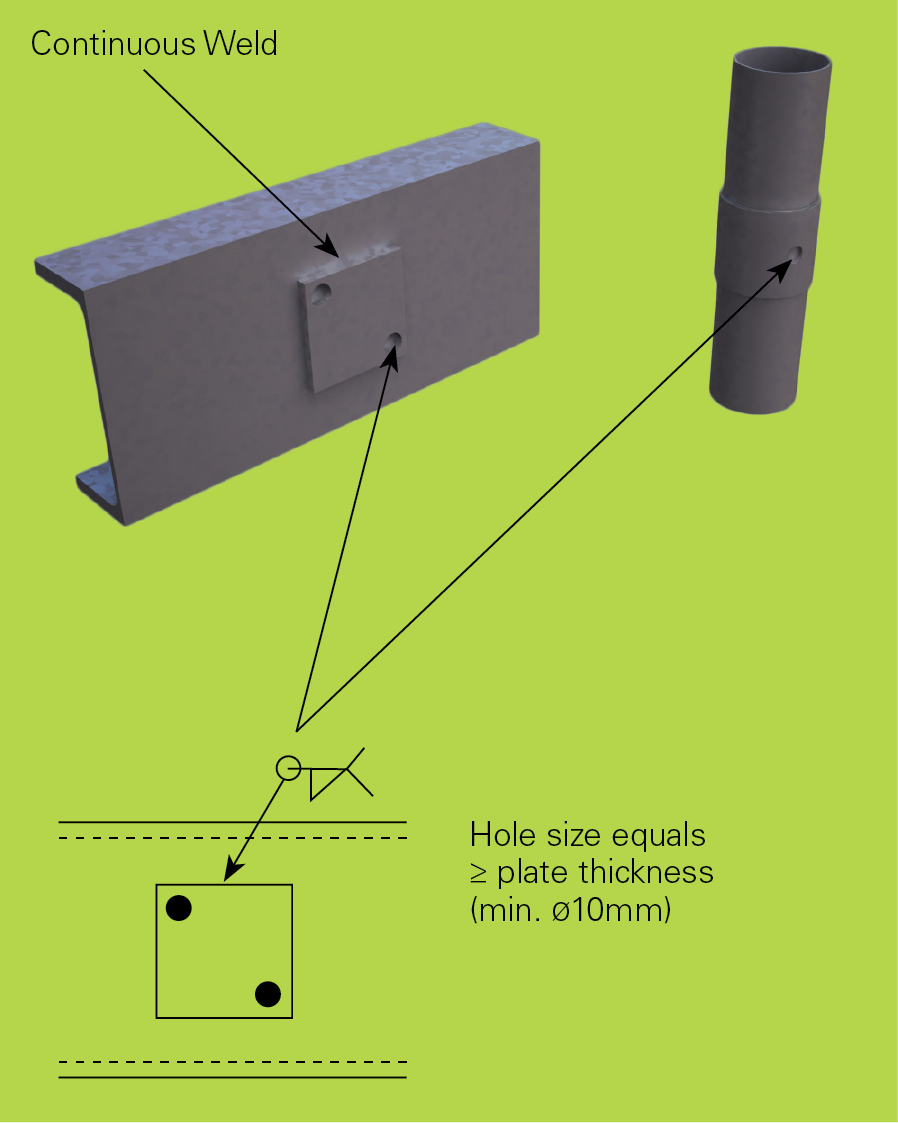
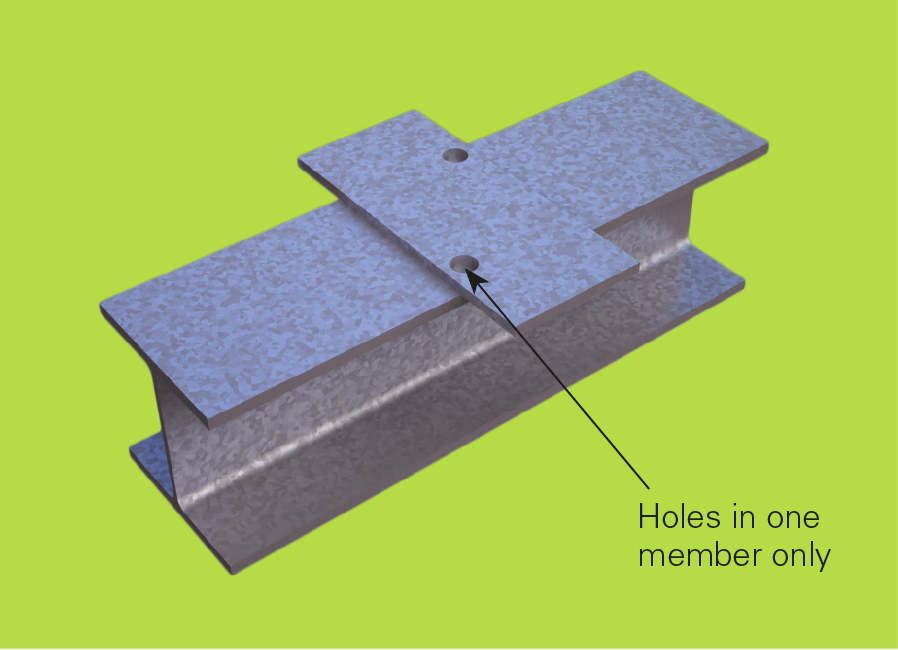
Large, seal welded overlapping surfaces require venting in the form of a hole(s) drilled in one of the overlapping surfaces.
An enclosed area between overlapping surfaces may contain condensation or the welds may contain pin holes that will allow pre-treatment solutions to enter the enclosed area during the galvanizing process. This is unsafe when the articles are heated to 450°C in the molten zinc.
- Overlapping surfaces can be particularly dangerous if not designed correctly for galvanizing, so communication with the galvanizer is essential to ensure the correct venting is provided.
- Avoid narrow gaps between plates, overlapping surfaces, and back to back angles and channels, as fluid may get trapped leading to the possibility of an explosion or later corrosion of uncoated overlapped surfaces. See ‘For intermittent weld design’ for more information.
When overlaps are unavoidable:
- Seal edges using pinhole-free continuous welding and provide 2 vent holes for best outcomes.
- Pinholes from welding are very dangerous in articles to be galvanized and must be avoided.
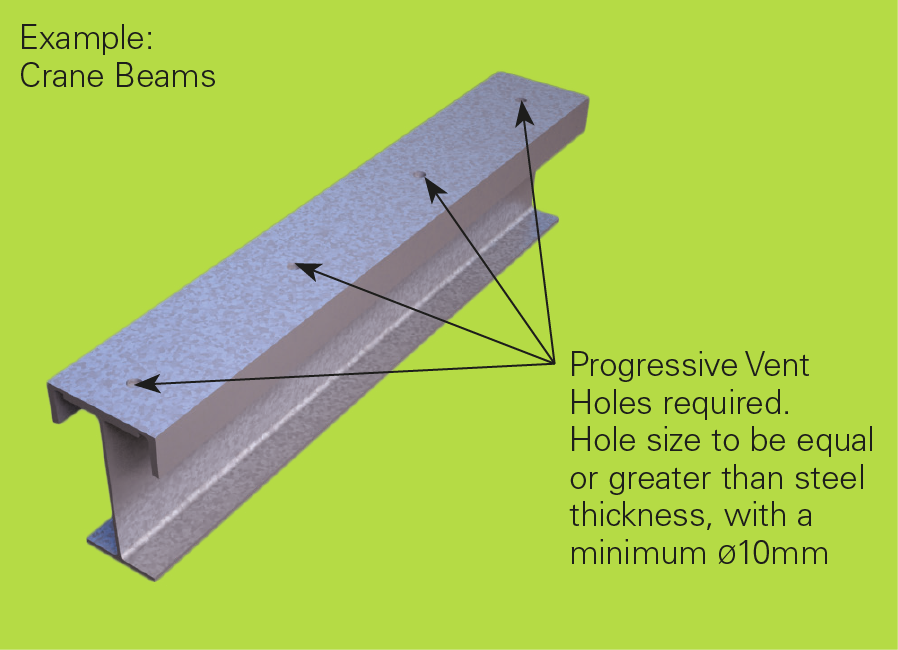
- Size of the hole(s) should be equal to or greater than the steel thickness, with the minimum being 10mm.
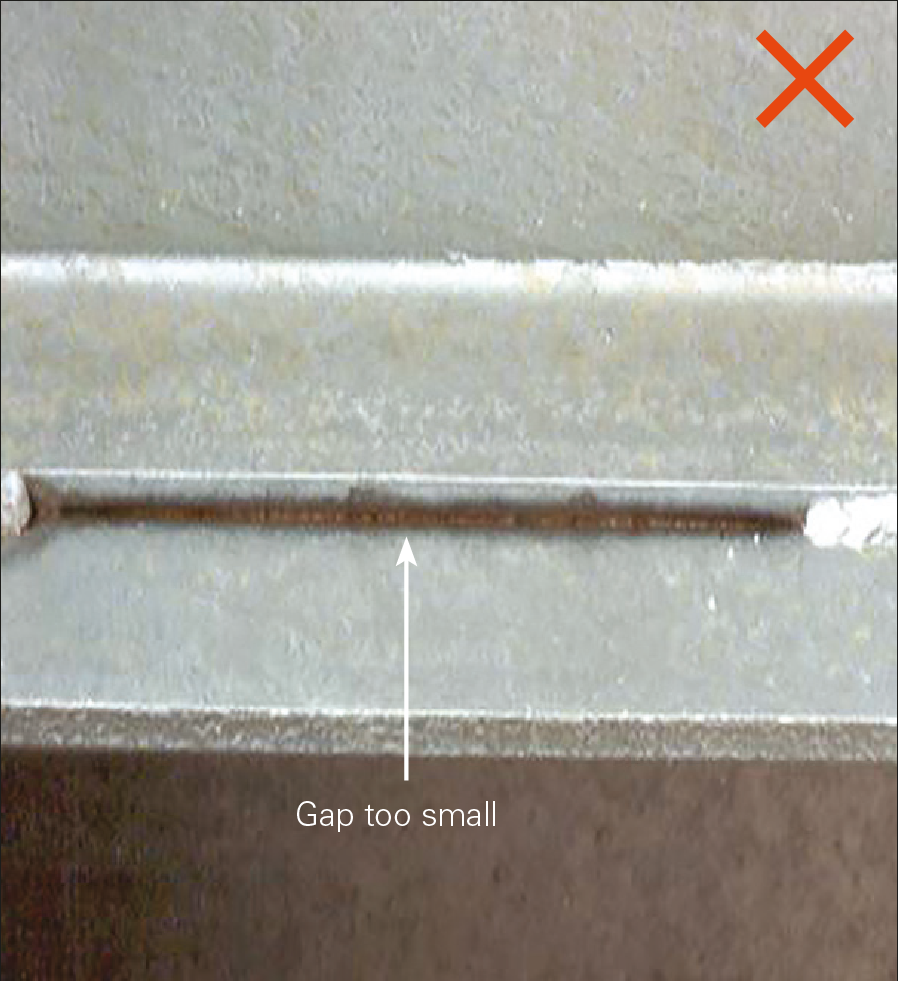
- Avoid gaps between members or have at least a 2.5mm gap and stitch weld so all the surfaces can be galvanized. In this case, additional vent holes would not be required (see ‘For intermittent weld design’).
- Intermediate sized overlaps should be judged on the basis of weld integrity and residual welding heat in the joint to ensure total dryness at time of sealing.
- Longer or larger overlapping areas require spaced holes for progressive venting. Very large overlapping areas should be avoided as they are an undesirable design for galvanizing and are areas of high risk for crevice corrosion.
- The same principles used for general venting and draining should be used for location of vent holes in overlapping areas, i.e. in corners and diagonally opposite.
- There should be a flush fit-up of the items.
- Putting the hole through both sections can also be helpful.
For intermittent weld designs
The minimum space between the surfaces of the two components shall be at least 2.5mm.
This ensures:
a. The overlapped area is self-venting.
b. Avoids pre-treatment solutions being trapped in the gaps during the galvanizing process and seeping out over time.
c. Allows all surfaces to be galvanized.
Overlapped surface venting
Spacings less than 2.5 mm will restrict the flow of pre-treatment fluids and prevent the effective flow of zinc into and out of the crevice, resulting in uncoated areas. For this reason, spacings between overlapped surfaces less than 2.5 mm should be designed with fully sealed welds when the overlap is small, or with vented overlaps as per Table 1 and Figure DN23.
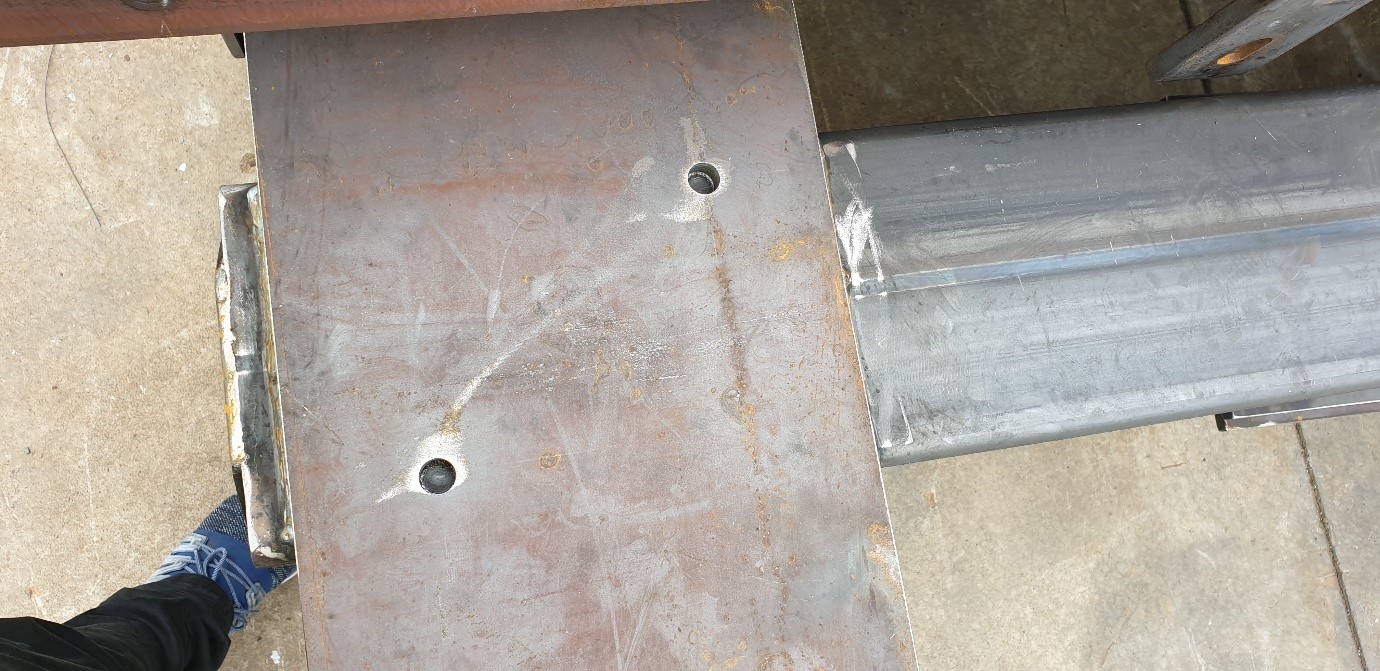
Table 1: Recommendations for minimum actions at areas of overlap.
Area of Overlap | Recommended Action |
Up to 10,000 mm2 | Fully sealed weld |
10,000 to 100,000 mm2 | In diagonally opposite positions, either 2 × ≥ Ø12 mm holes at the corners, or 2 × ≥ 25 mm intermittent welds at the corners |
100,000 to 250,000 mm2 | Either 4 × ≥ Ø12 mm holes at corners, or 4 × ≥ 25 mm intermittent welds at the corners |
≥ 250,000 mm2 | In diagonally opposite positions, either ≥ Ø20 mm holes at corners and progressively placed at least every 250,000 mm2, or ≥ 25 mm intermittent welds at the corners and progressively placed at least every |
The hole size for venting and draining must be at least the thickness of the steel. In other words, if the overlapping plate is 15 mm thick, then the minimum holes size is Ø15 mm.


