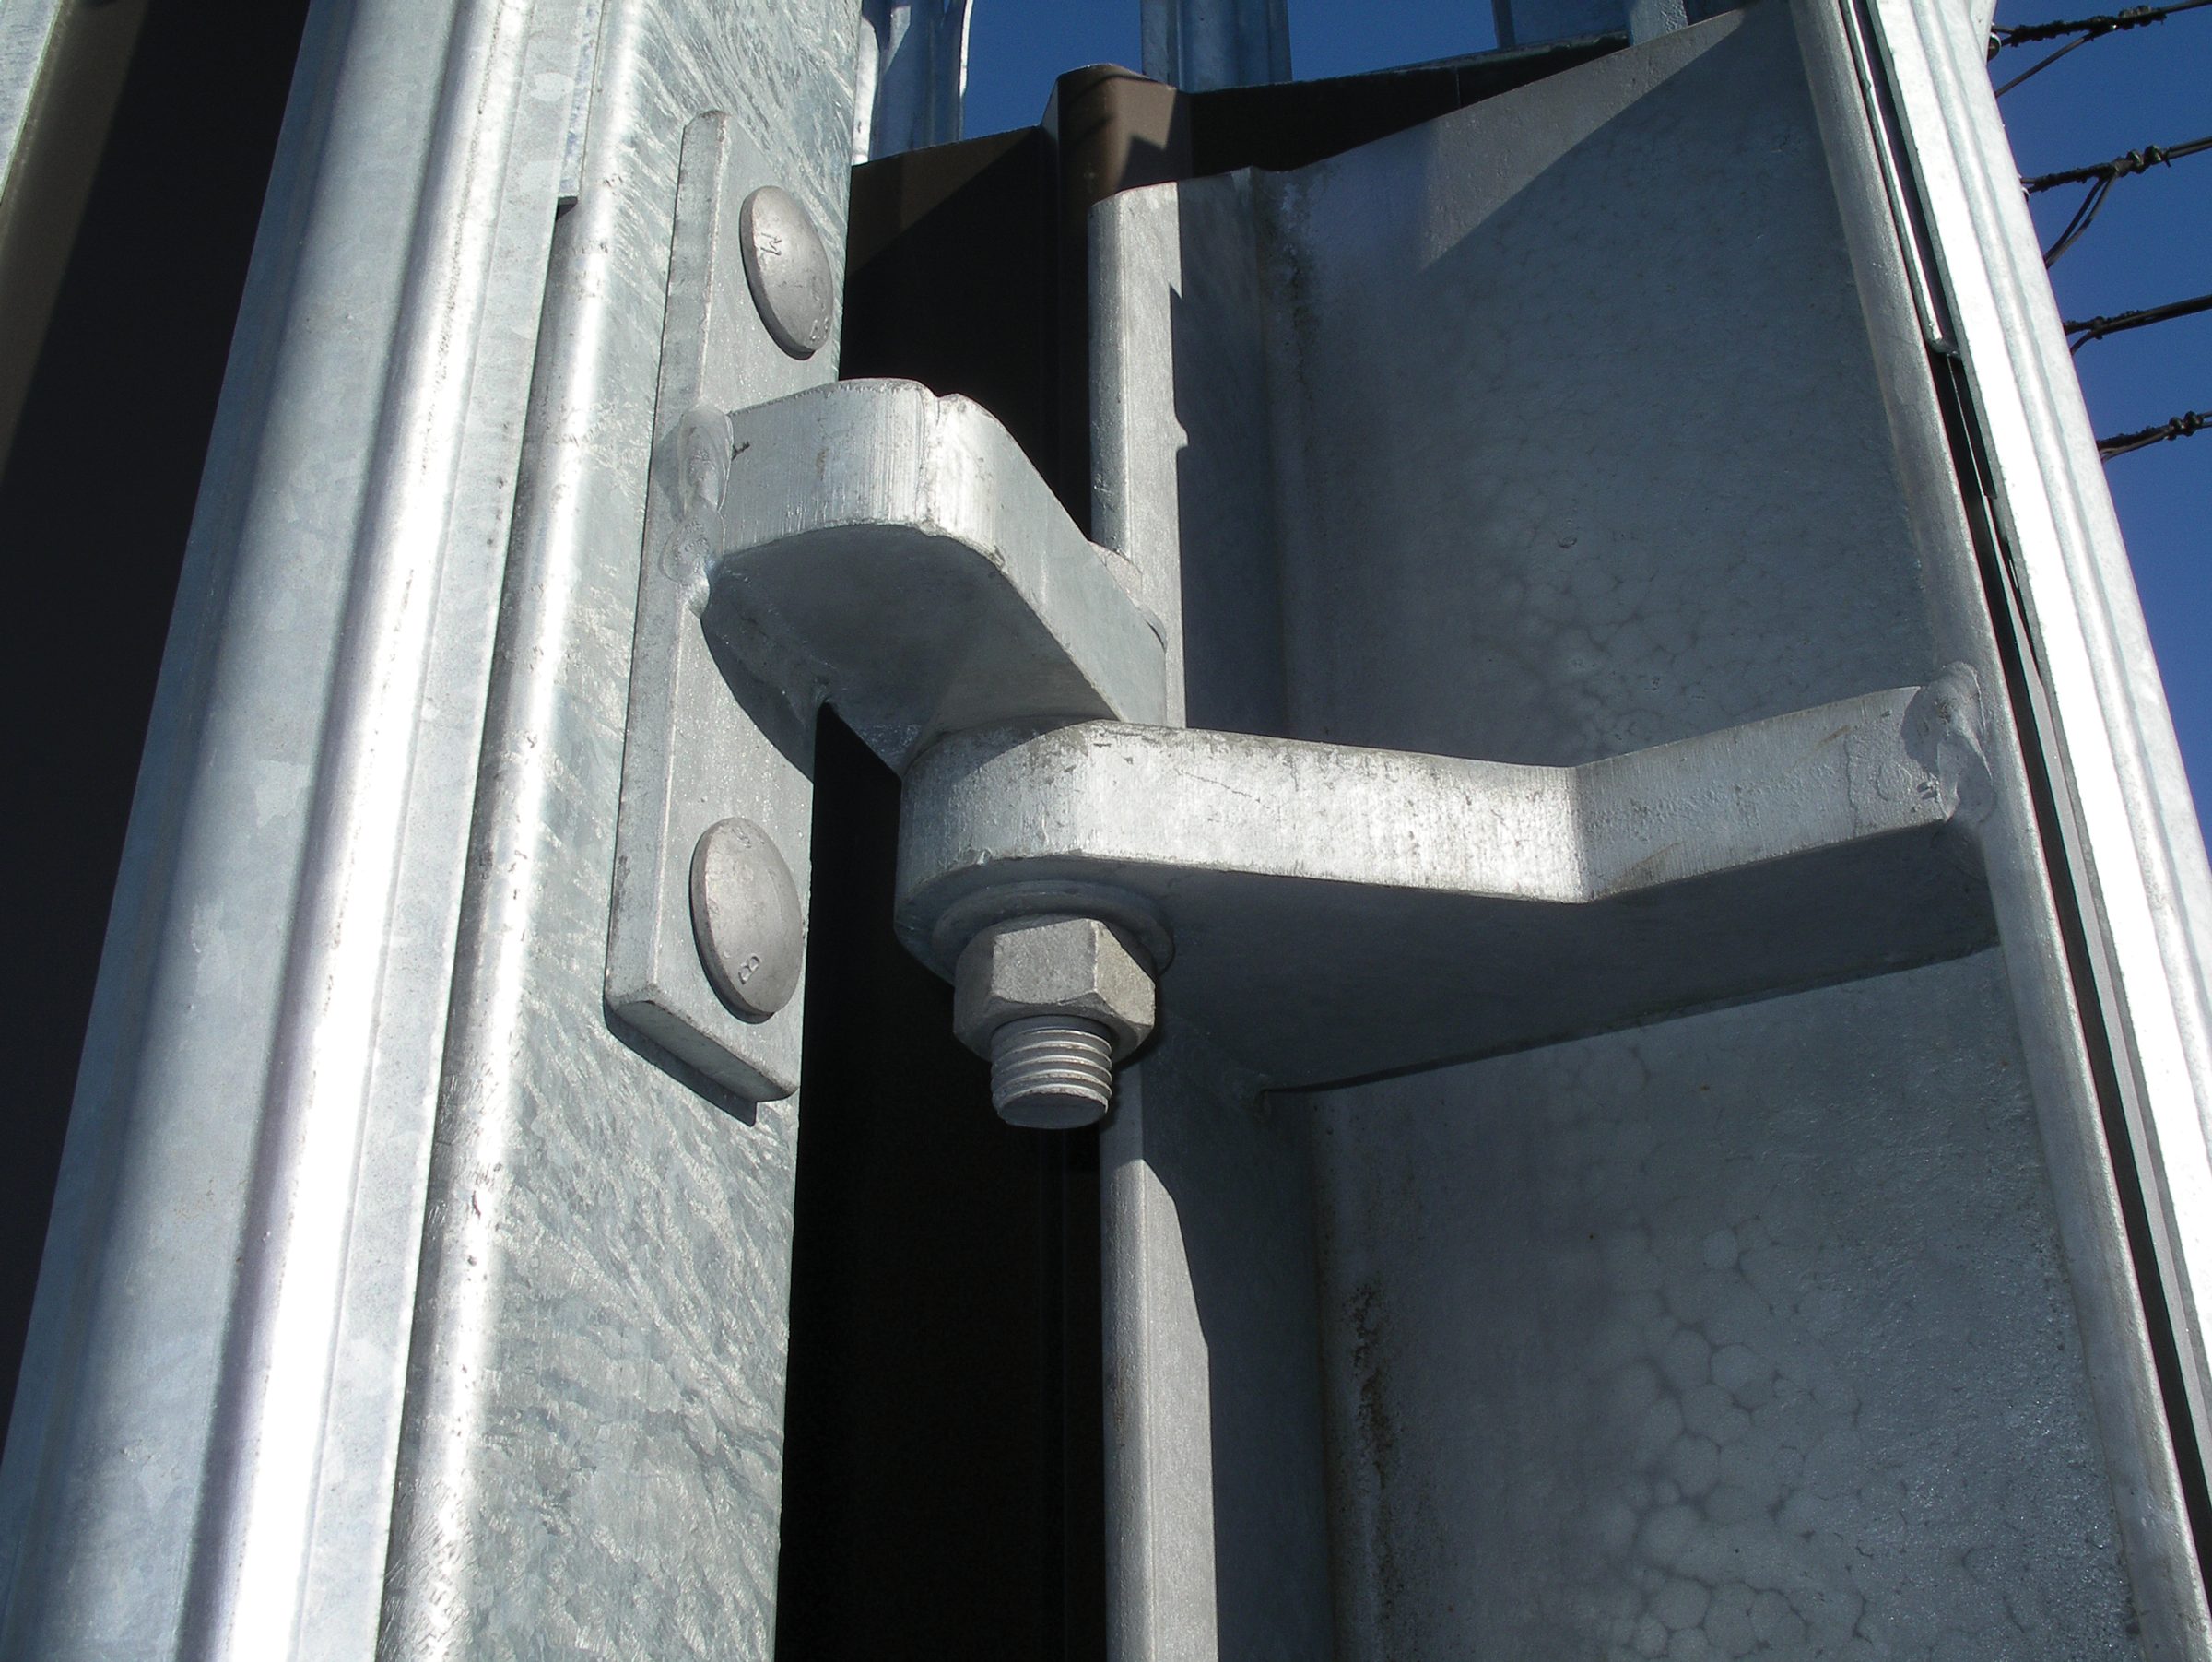
Inspection of fasteners
Fasteners purchased for use in fabrications covered under AS/NZS 5131 must be subject to an inspection and test plan (ITP).
The ITP must identify the bolted connection to be inspected, who is to carry out the inspections, the stages at which the inspection is to be carried out and the method and extent of the inspection to be used. Any special requirements of the inspection should be identified in the construction specification.
Inspection after snug tightening
All connections which are initially snug tightened are inspected after snug tightening with the structure aligned locally, for the following:
- Correct position and angle for all the bolts in the connection.
- Ensuring all the assemblies are of the right grade and size.
- Bolts which have insufficient or excessive thread beyond the nut.
- Ensuring locking nuts are in the joints where they have been required and prescribed.
- All plies are the correct thickness and dimensions.
All snug tight connections are inspected to ensure they have been properly packed and that all plies of the connection have been brought into firm contact. All bolts in the joint are checked for enough tightening to ensure they will not turn without the use of a spanner.
Inspection of tensioned high strength bolted connections
The connection must first have already been inspected at the snug tight stage before inspection after tensioning. For friction type connections, the surfaces are visually inspected prior to assembly. Assembly of that connection must not start until the surface condition meets the requirements in the construction specification and Clause 8.4.2 of AS/NZS 5131.
The tensioning procedure must be observed over the entire process to ascertain the correct procedure and outcomes are obtained.
For construction categories CC2, CC3 and CC4 of AS/NZS 5131 the connection must be inspected after tensioning as follows:
a) Part turn tensioning – The correct part-turn (Table 19), from the initial snug tight position must be measured.
b) Direct tension indication device – The direct tension indication device must indicate the developed minimal tension, which must exceed the value given in Table 18.
Notes:
- The manufacturer’s inspection procedures should be followed when the direct tension indication device is used.
- The use of a torque wrench for inspection is considered suitable only to detect gross under-tensioning.
If the high strength bolts have not been tensioned to the provisions in the paragraphs above, the bolts are to be either re-tensioned or new bolts installed and tensioned to the requirements given. They must then be re-inspected.
During the inspection of the direct tension indication devices they should be checked to identify any indicators where the protrusions have been fully compressed. No more than 10% of the direct tension indicators can exhibit full compression of the protrusions.

Fasteners purchased for use in fabrications covered under AS/NZS 5131 must be subject to an inspection and test plan.


